If you’ve been trying to find a way to breathe new life into your home, new skylights could be the answer you’ve been searching for! These roof windows can transform your home inside out by bringing in fresh air, more natural lighting, better energy efficiency, and a modern, stylish look that will enhance your home’s curb appeal. To top it all off, many homeowners with the right tools and know-how often can take on the job themselves! In our step-by-step guide, we’ll walk you through every step of the skylight installation process from start to finish to help you bring this DIY project to life.
Read on to learn more or contact our trusted team at RoofPRO for more information.
What are the Benefits of Installing a Skylight?
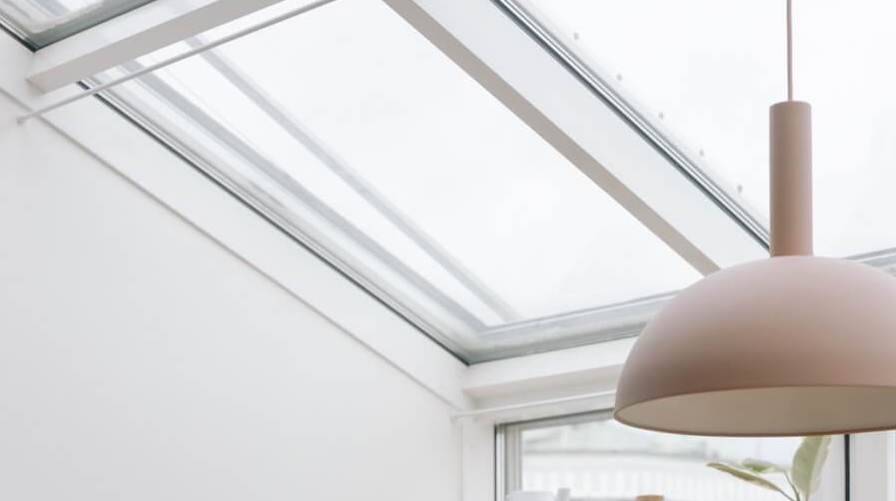
Skylights provide a unique, modern, and stylish exterior finish to your home that can boost its curb appeal, but they bring a lot more to the table than just improving your home’s appearance. Whether mounted on a pitched or flat roof, a skylight window can improve your home’s ventilation, bringing much-needed fresh air by natural processes instead of relying solely on HVAC systems. Skylights also provide an incredible amount of natural light in areas of your home that might be farther from windows or other light sources.
Skylights Add More Natural Light to Your Home
Studies have shown that increasing the natural light in your home positively affects mood and overall happiness for those living in the space. These mental health benefits alone may make fixed skylights worth it for many homeowners, but the aesthetic value that natural light offers is a huge added bonus. The light shaft cast into your home by overhead skylights has an undeniable beauty that instantly enhances your home’s atmosphere and appearance, both inside and out.
Boost Your Property's Value and Curb Appeal
Almost any kind of unique or special enhancements made to a home can increase its curb appeal, but a top-quality skylight installation is all but guaranteed to increase the value of your home and boost its chances of getting scooped up quickly when and if it goes to market. Skylights entice potential buyers on two fronts: the aesthetic value of natural light is eye-catching and likely to convince any buyers who may be on the fence, and they have increased confidence that you as a homeowner have been taking care of and investing in your home.

Skylight Installation Guide: Steps to the Process
Installing your own skylight is not only possible; it can make for a great DIY project if you have the right tools and skills. Even if you’re an experienced DIYer, however, a successful installation depends on how thoroughly you plan ahead and take your time during the installation process! In the guide below, we’ll walk you through each step of installing a new skylight, but take note: safety comes first and foremost! If at any time you feel unsure or uncomfortable with a task, err on the side of caution and contact a qualified roofing contractor to help you finish the job. Mistakes on roofing projects can lead to costly repairs, injury, and worse, so proceed with care.
1) Plan Out Your Project Details and Gather Installation Supplies
The success of your skylight installation hinges on how well you plan out the project. Before you begin, read through this guide to develop a solid understanding of the installation process, then get to planning. Firstly, you’ll want to identify what type of skylight you want to install; this will depend on the type of roof slope you have. Curb-mounted skylights are meant for roofs with lower pitches (0-60 degrees), whereas deck-mounted designs are best for roofs with higher pitches (14 to 85). Once you’ve decided what style to opt for, pick a skylight location based on both which room you want your skylight in and where it will fit structurally on your roof. While planning, note your existing roofing materials and design – this will determine how large your skylight can be and where it can be mounted without interfering with trusses (if your home has them). While you do this, ensure that the area you plan to install your skylight in is in good condition, otherwise additional work may need to be done before it can support your new window. Finally, check that you have all of the necessary tools for the job. Installing a skylight doesn’t require specialty tools, but you’ll need the following on hand to complete the job from start to finish:
• Circular saw
• Utility knife
• Measuring tape
• Chalk line
• Carpenter’s square
• Flat pry bar
• Stud finder
• Hammer
• Drill
• Level
• Safety harness
2) Mark Your Rafters
Anytime you cut into something, it’s beyond important to know what lies behind it! This goes doubly so for a roofing project. Before you solidify where you want your new skylight to go, mark the rafters beneath your roof on your ceiling with a stud finder so you know exactly what you’re cutting through with your saw. When cutting into your roof, it’s best to avoid cutting through rafters at all unless absolutely necessary. If you have to cut through even one to get your skylight to fit, it’s best to contact a roofing professional to ensure that the structural integrity of your roof won’t be affected.
3) Carefully Create a Rough Opening
Using the rafter markings you made in the second step, carefully cut a rough opening in the ceiling of your home to create the bottom portion of the skylight’s hole. Use a chalk line to mark where you need to cut to keep your lines straight and level. Do this before you do any work on the roof opening to make that part of the job easier and cleaner; by starting from the bottom, you can clean and frame the opening and mark the roof side at the same time. Install a long screw through the roof shingles (or, if you have a clay or metal roof, the material you’re working with) to help you identify exactly where to cut once you get onto the roof.
4) Outline the Skylight's Frame and Prepare Your Roof
Next, follow the manufacturer’s instructions to outline the skylight frame from below. Make sure you install the supports perpendicular to your roof’s deck and follow all applicable building codes. The instructions that came with your skylight should specify the type and size of the lumber you need, as well as the way to construct the frame. Once that’s complete, it’s time to tackle the roof side of the project. Remember, safety comes first: always wear your safety harness when you’re working at height, and if you feel unsure or uncomfortable at any point, don’t take the risk and contact a qualified professional!

5) Cut the Opening in Your Roofing System
Once you’re prepared, it’s time to cut the top side of the skylight opening. Remove any roofing material (like asphalt shingles, tiles, or metal sheeting) within the area of the four screws you installed from below and add a few inches of buffer past the border of the screw to account for the flashing and shields that you’ll install later.
Use a chalk line to mark clear, straight guides between the long screws you set in from the bottom, then carefully cut the opening using a circular saw. If possible, have help nearby to hold onto the pieces you’re cutting out so they don’t fall into your home below. Before cutting, verify with the manufacturer’s instructions to ensure you’re cutting according to their specifications. Once the cutting is finished, sweep and clean the area thoroughly.
Note: Safety Comes First and Consider Hiring a Pro if Unsure
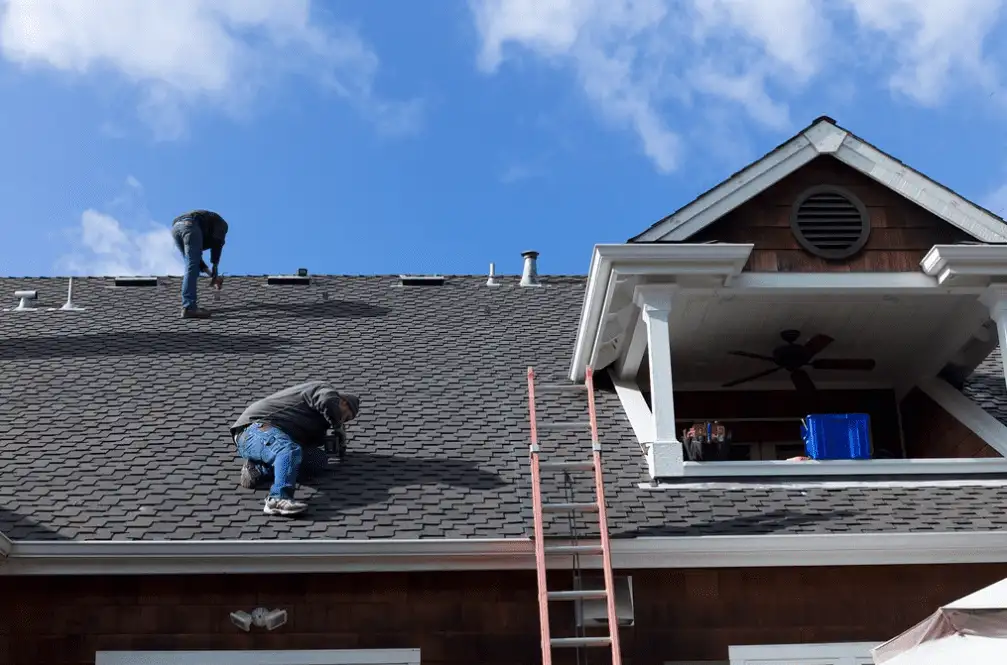
We’ve mentioned this before, but it bears repeating: working on a roof at height is dangerous. Regardless of the roof pitch, falls, slips, trips, and other hazards are possible, and a simple misstep can send you through the roof deck if you’re not careful. Always wear your safety harness when you’re working on your roof during the skylight installation process, and if you’re uncertain at any time, it’s always a good idea to hire a trained professional.
6) Install Your Skylight Into the Opening
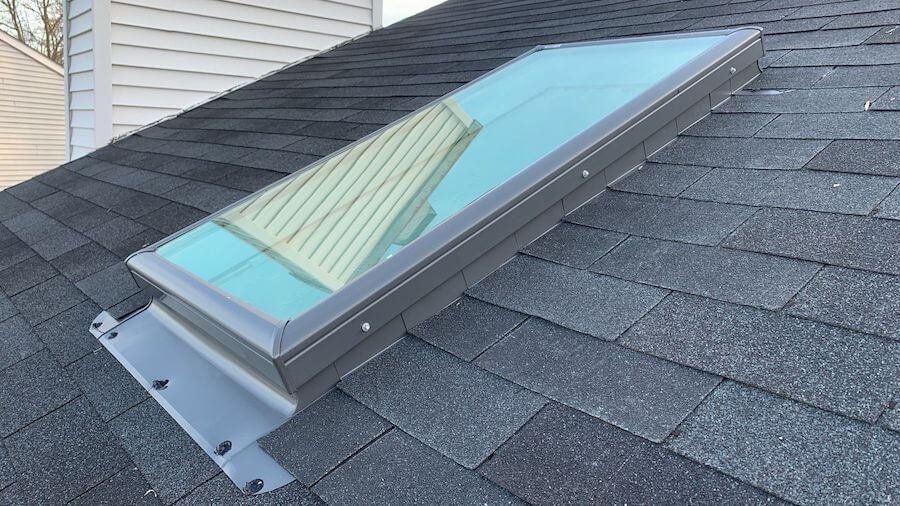
Once both of your top and bottom openings have been cut, it’s time to install the skylight. Following the manufacturer’s instructions, place and seal the skylight as indicated. It’s especially helpful to have a helper here, as they can assist with gently lowering the skylight into place for a secure and proper installation. If your skylight has a self-adhesive membrane, ensure the area below the membrane is clean for the best results. Once your skylight is in place, follow instructions to nail or otherwise secure it in place. Following these instructions to the letter is critical to ensure a watertight seal is created!
7) Install Ice and Watershield, and the Flashing
This is a critical step and must be completed carefully to ensure that your roof maintains a watertight seal and its energy efficiency. Failure to properly install ice and watershield underlayment, and flashing can result in water damage to your home and, potentially, cause the skylight to require professional replacement. After your skylight is in place, use roofing nails to nail shingles or your other roofing material to the bottom part of the shield attached to your skylights. Then, using the flashing kits included with your skylight, secure the flashing according to the specific manufacturer’s instructions. Make sure to follow them to the letter to prevent water leakage and other issues.
8) Repair Your Drywall and Put the Screen in Place
The final step in the skylight installation process is to repair the ceiling drywall you cut into and secure the skylight screen. Before you replace or repair your drywall, ensure you replace any insulation you may have removed when you cut your rough opening. Then, sand, paint, and texture the sheetrock to create a smooth transition. Putting the skylight screen in place is simple, and once it’s secured, sit back and take in a job well done!

RoofPRO Provides Professional Skylight Installation and Repairs
If installing a new skylight seems too far outside of your abilities as a DIYer, or you’d simply rather leave the job to the professionals, contact Maryland’s top-rated roofing contractor to take advantage of our industry-leading services. Even if you’re fully confident in your skills, working with a trusted roofing contractor like RoofPRO is a great way to reduce the risk of accidents and ensure that the job gets done right from top to bottom.
At RoofPRO, we offer a wide variety of professional skylight installation and repair services for all of the top brands, so you can trust that we have a solution for your home!
Bringing Trusted Solutions to Marylanders Since 2004
For nearly two decades, we’ve been helping homeowners throughout Maryland with roofing projects of every shape and size. From minor roofing repairs to complete roof replacements and more, we’re the area’s go-to choice for home exterior needs!
Services for Skylights, Roofing, Windows, Gutters, and More
Our comprehensive range of home exterior services includes solutions for skylights, roofing, windows, gutters, and more. We use best-in-class materials, like Velux skylights and Andersen windows, and, combined with our proven installation methods, you can trust that our work will stand against both time and the elements for years to come.
Contact Our Team for More Information and a Free Estimate
Whether you’re interested in new skylights or one of our other top-rated home exterior services, contact us today to learn more and receive a free estimate for our services.


