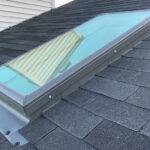

A sun tunnel skylight is a great way to bring light into darker parts of the home without installing a full skylight. We most often install them in bathrooms and hallways, but they can also work well in kitchens, stairwells, and other spaces where adding a traditional window is not practical.
We install VELUX Sun Tunnels throughout Maryland, both as standalone upgrades and during roof replacements. The right setup depends on the roofing design, attic access, tube length, and where you want the light to enter. This guide explains how they work, where they make sense, what they cost, and what homeowners should know before installing one.
What Is a Sun Tunnel and How Does It Work?
Tubular skylights are designed to bring beautiful natural light into rooms that may not have the capacity for a traditional skylight or window. It has a clear roof-mounted collector, a reflective tubing that runs through the attic, and a diffuser in the ceiling that spreads the skylight into the area.
The tubing carries sunlight from the sky down into the home. A rigid tube usually delivers the most daylight because they reflect more of it directly through the tunnel. Flexible tubes can work better when the attic layout requires bends around framing or other obstacles.
We use them most often in bathrooms and hallways, but they can also work well in kitchens, stairwells, and other darker spaces. The amount of lighting you get depends on the tube length, the number of bends, roof exposure, and how much shade it receives.
Sun Tunnel vs. Solar Tube vs. Tubular Skylight: Are They the Same?
For the most part, yes. Sun tunnel, solar tubes, and tubular skylight are different names for the same basic type of daylighting system. They all use a roof-mounted opening and reflective tubing to carry daylight into the home.
“Sun Tunnel” is the name VELUX uses for its product line, while “solar tube” and “tubular skylight” are more general terms homeowners may hear.
The important distinction is not the name. It is the type of tubing, the quality of the roof flashing, and whether the system is installed in a location where it can deliver enough natural light.
Types of VELUX Sun Tunnels
Velux sun tunnel skylights are generally either a rigid or flexible reflective tubing. We install both, but we prefer rigid whenever the attic layout allows because they carry in more lights.
Rigid Sun Tunnels
Rigid, uses solid reflective sections to create a straighter path between the roof and ceiling. Because there are fewer folds and bends inside the tubing, more daylight reaches the room below.
We typically recommend rigid when there is a reasonably direct path through the attic. They are especially useful when it needs to travel a longer distance.
Flexible Sun Tunnels
Flexible products can bend around rafters, ductwork, wiring, and other obstacles inside the attic. That makes them useful when a straight route between the roofing and ceiling is not possible.
The tradeoff is the output of lighting. The flexible material and additional bends reflect less lighting than a rigid tubing, so we normally use flexible tubing only when the attic layout makes it the better option.
Where Can Sun Tunnels Be Installed in a Home?
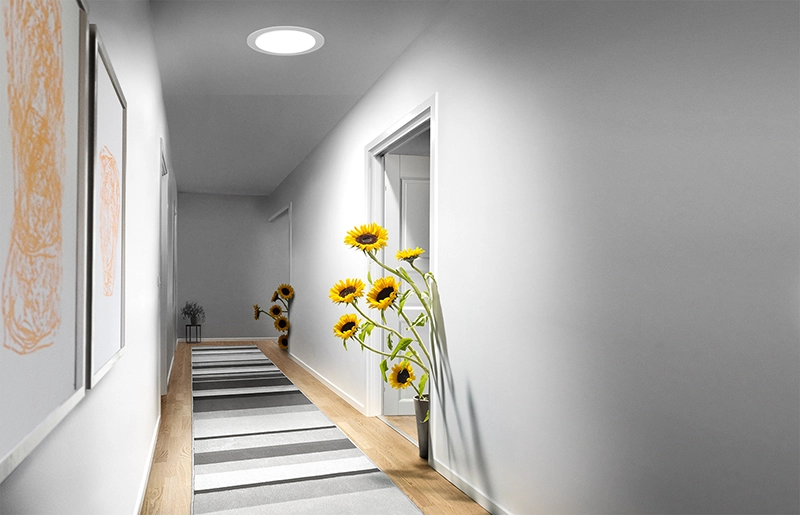
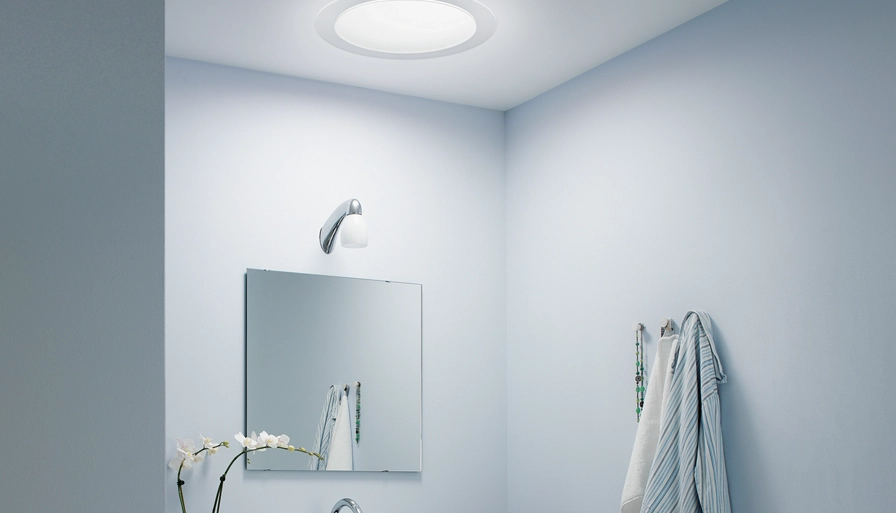
They work best in rooms where natural light is limited and there is a practical path between the ceiling and the roofing. We install them most often in bathrooms and hallways, but they can also work well in kitchens, closets, and some stairwells.
The biggest limitation is the path through the attic. A very tall attic, a long run, ductwork, framing, wiring, or cramped access can make installation more difficult and reduce how much sun reaches the rooms. Placement can also become tricky when a homeowner wants the roof opening hidden on the back of the house while the area being lit is much farther forward.
Before we cut anything, we first locate the ideal spot, check the rafters, and trace the path through the attic to the roofing. That helps us make sure the tunnel can fit properly and still end up where the homeowner wants it.
How Much Natural Light Can a Sun Tunnel Add to a Room?
The amount of lighting it provides depends on the tubing size, length, number of bends, and how much sunlight reaches that section of the roof. In our experience, a shorter, straighter rigid tunnel usually delivers the most lighting, while longer runs and flexible tubes lose more light along the way.
Shade also matters, and larger rooms may need more than one tunnel. We have installed multiple in kitchens and living rooms when the homeowner wanted more even natural light across the space.
Sun Tunnel vs. Skylight: Which Is Better for Daylight?
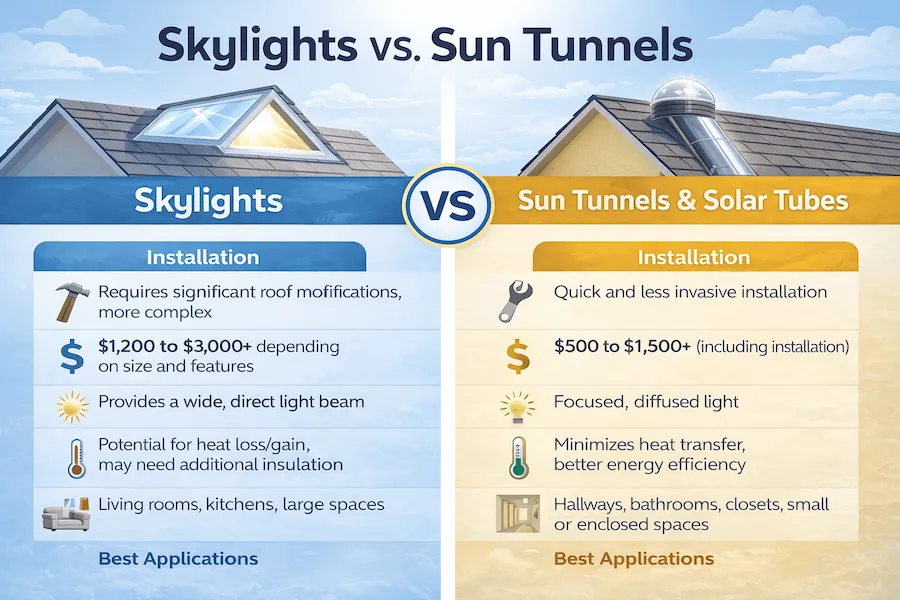
Neither is automatically better. A sun tunnel is usually the better fit when the goal is simply to bring natural light into a smaller or darker rooms without making a major change to the roofing or ceiling.
Skylights make more sense when the homeowner wants a larger view of the sky, more daylight, or a stronger architectural feature. A sun tunnel is smaller, less intrusive, and usually easier to place in bathrooms, hallways, closets, and other areas where a full skylight may not be practical.
For most homeowners, the decision comes down to the room, the roofing, and how much lighting they want. We look at those factors before recommending one over the other.
How Much Do Sun Tunnels Cost to Install in A Home?
We typically charge between $900 and $2,000 for a sun tunnel installation, depending on the roof, attic access, and complexity of the project.
A straightforward installation on asphalt shingle with a short, direct path through the attic will usually fall toward the lower end. Longer runs, difficult attic access, slate roofing, steep roof slopes, or more complicated interior placement can increase the cost.
We look at the roofing and attic before providing a final price because every installation is a little different.
Are Sun Tunnels Worth It? Pros and Cons
For many homeowners, yes, especially when the goal is to brighten a dark bathroom, hallway, or other interior space without installing a full skylight. We install a lot of them as standalone upgrades because the work is relatively low impact and can usually be completed in a few hours.
Pros
- Brings natural light into rooms that do not have exterior windows
- Usually less invasive than installing a traditional skylight
- Works well in bathrooms, hallways, kitchens, and some stairwells
- Can be installed as a standalone project without replacing the roof
- Rigid tunnels can deliver a surprising amount of daylight
- VELUX options can include a solar night lighting for low-level lighting after sunset
Cons
- Long runs and multiple bends can reduce output
- Heavy shade can limit how much daylight reaches the area
- Rafters, ductwork, wiring, or cramped attic space can restrict placement
- Very tall attics may require a longer tunnel than we would recommend
- A sun tunnel brings in daylight, but it does not provide a view or fresh air like some traditional skylights
The best way to know if one makes sense is to look at the room, attic, and roof together. A good installation depends just as much on the path through the attic as it does on where you want the lighting inside the home.
What to Expect During Sun Tunnel Installation
Most sun tunnel installations take us about 3 to 5 hours, but the exact timing depends on attic access, roofing type, and how easy it is to create a direct path between the roof and the area below.
The process usually looks like this:
- We choose the interior location first. We start inside the home and confirm where the homeowner wants the lighting to come through the ceiling.
- We check the framing. Using a stud finder and attic access, we make sure the opening can fit between the rafters. Sometimes the final ceiling position has to shift slightly to work with the framing.
- We map the path through the attic. We measure from the interior location to the roof and look for ductwork, wiring, framing, or other obstacles that could affect the tunnel route.
- We choose the location. When possible, we prefer placing the exterior portion where it will perform well without creating an awkward appearance on the front of the home.
- We cut the ceiling and roof openings. Once everything is marked and confirmed, we open the ceiling and roof and install the tunnel, flashing, and exterior components.
- We finish the interior. We install the ceiling diffuser and trim ring, so the finished opening looks clean without requiring major drywall work.
Because we handle both the roofing and interior portion, the process is usually much less disruptive than homeowners expect.

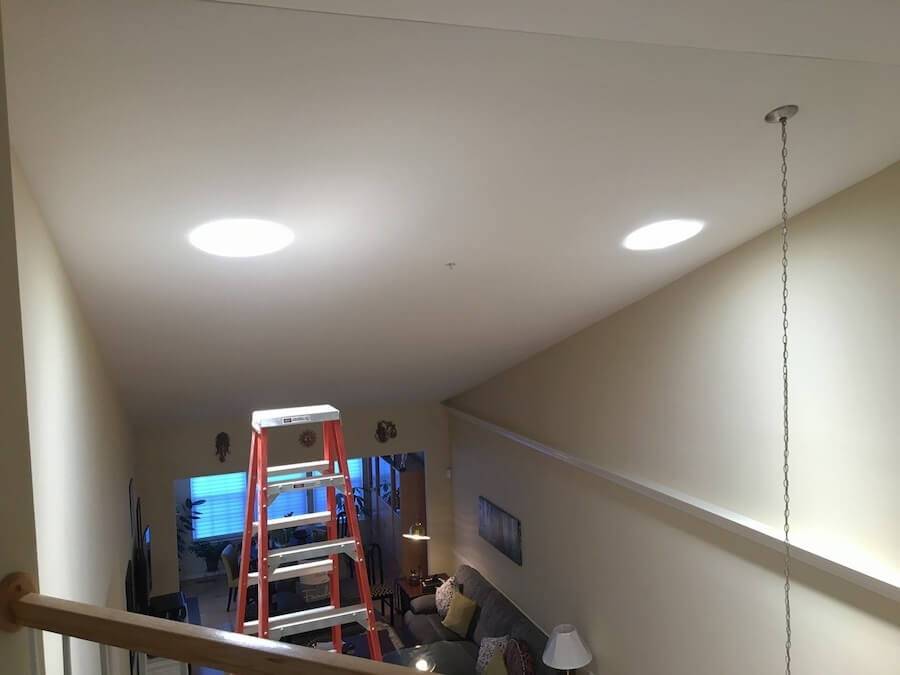
VELUX Sun Tunnel Products Installed by RoofPRO
As a VELUX certified installer, we have installed Sun Tunnels in homes throughout Maryland on shingle, slate, and flat roofing. Our team handles the entire project, including the roof opening, flashing, attic routing, tube installation, and interior finish.
That roofing experience matters. Many Sun Tunnel leaks come from improper flashing, missing ice and water protection, or installers relying too heavily on caulk. We install the Sun Tunnel as part of the roofing system, with the same attention to waterproofing that we would give any other roofing penetration.
Get an Estimate for a Velux Sun Tunnel Installation
We offer free estimates for skylight installation throughout Maryland. With more than 20 years in business, an A+ rating with the Better Business Bureau, and hundreds of homeowner reviews, RoofPRO brings a long track record to every project. Contact us to schedule your estimate and see if a Sun Tunnel or skylight makes sense for your home. Get a Free Quote
Reach Out Today!

Author Bio
Tim Taylor – Owner & Founder of RoofPRO
Tim Taylor began his roofing career in 2003 and founded RoofPRO in 2004 with a mission to fix the poor workmanship that often causes roof leaks. With over 20 years of hands-on experience, he’s earned elite credentials like CertainTeed’s ShingleMaster Wizard certification, HAAG inspection certifications, and OSHA safety training. His expertise in leak repair, flashing repair, and post-storm restoration has made RoofPRO one of Maryland’s most trusted roofing companies. Tim continues to lead with the same principle that built his reputation—roof it right the first time.